- Mobile:+8613538150631
- Email:colorfulparkgame@126.com
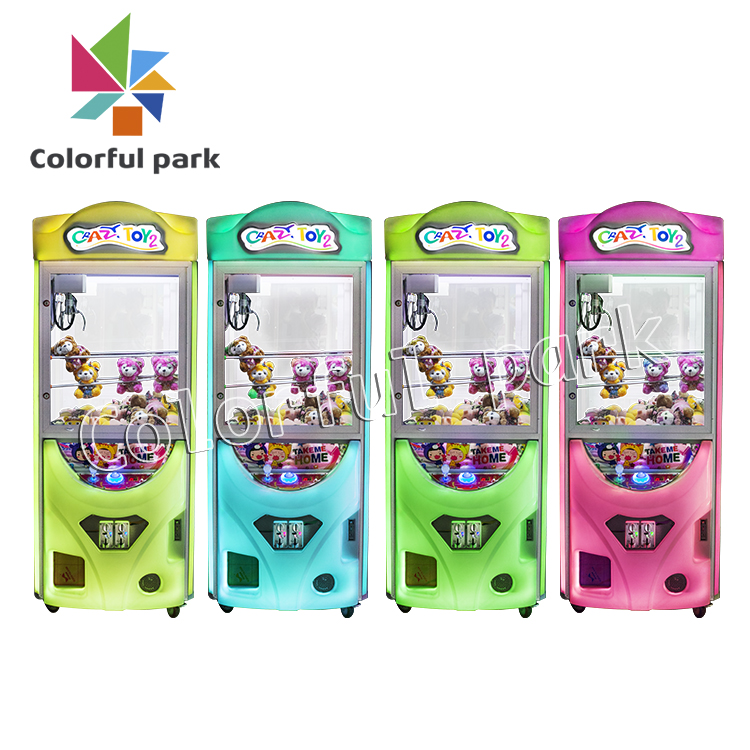
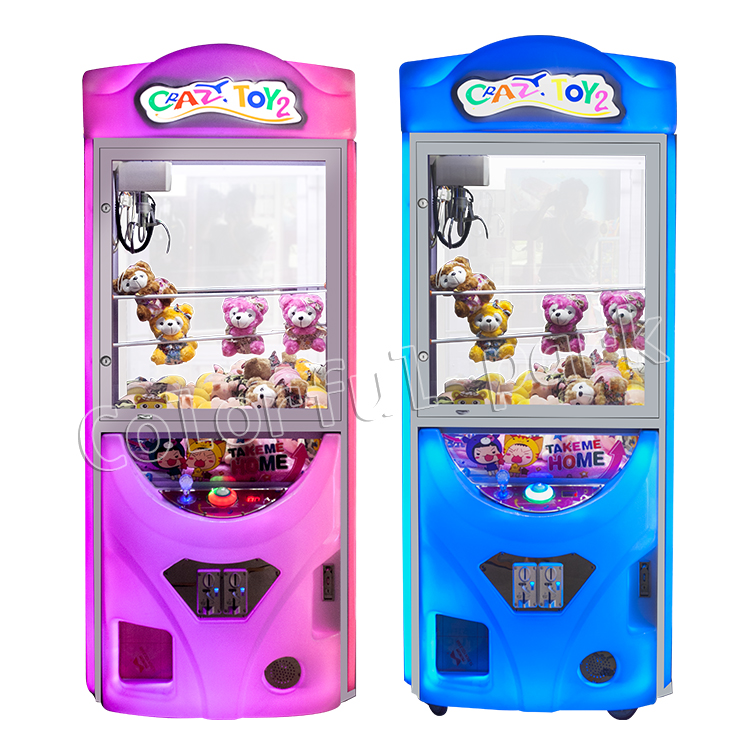
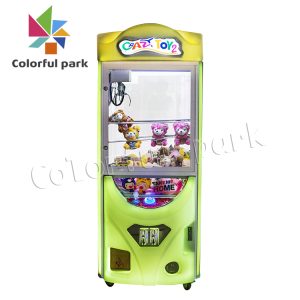
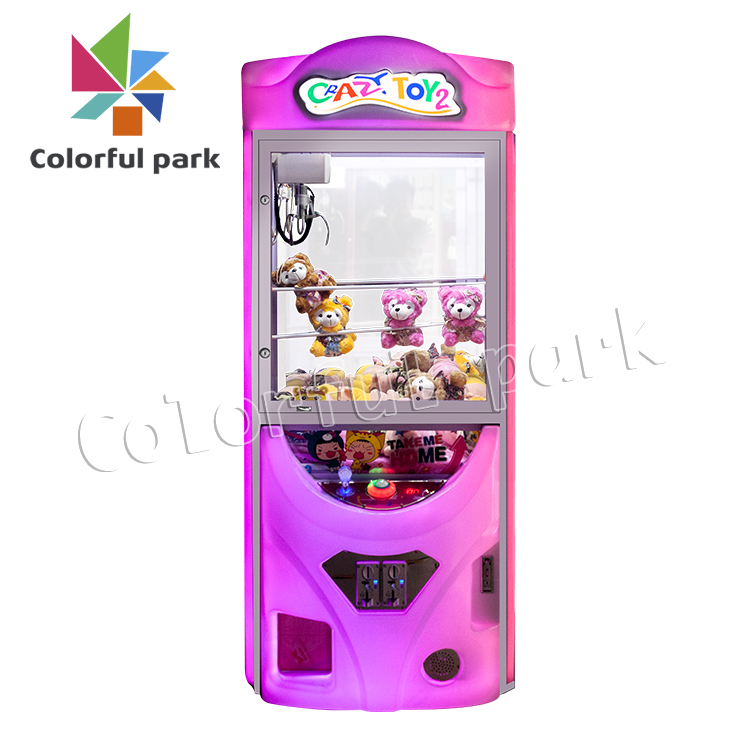
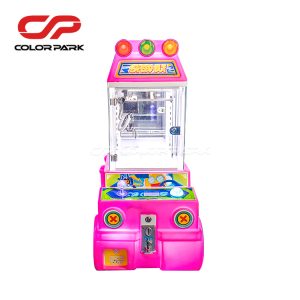
crazy toy 2 claw crane machine details as below
| Main board: | high quality customized mainboard | |||
| Rocker: | high grade seven color rocker, seven color key | |||
| Chassis: | plastic suction | |||
| Lighting: | Jewelry grade LED lamp Coin device: dual intelligence | |||
| Function: | liquid crystal setting Size:80*90*200cm | |||
| Size: | Size:80*90*200cm | |||
| Price: | deposit | |||
| Measurements: | 90*100*210cm | |||
| Weight: | (KGS)200KGS | |||
| Certificate: | CE,SGS,ISET Italy certification | |||
| Colors: | Red, yellow, blue, green, purple, pink,white,black etc. | |||
| Introduction: | 1.Light (vehicle equipped with LED lamp, high brightness, long life) | |||
| 2.Music (built-in MP 3music boxcontrol, SD card can be inserted, adjust the volume) | ||||
| 3.Timing control (computer version controller, can according to their owntheir own need to set the running time) | ||||
| 4.Remote control (car can use the same remote control and stop operation, need to be added) | ||||
| 5.Standard accessories: charger 1, wearing parts (brush, bulb, lamp, fuse) | ||||
| Advantage: | 1.Anti-UV | |||
| 2.Anti-static | ||||
| 3.Security | ||||
| 4.Environmental protection | ||||
| 5.Color is never to fade | ||||
| Age Range: | >5 | |||
| Capacity: | 2 adults, 1 children | |||
| Apply to: | Amusement park, kindergarten, pre-school, residential area,supermarket, restaurant, etc. | |||
| Packing: | Standard export packing Plastic parts: bubble bag and pp film Iron parts: cotton and pp film | |||
| origin | China | |||
How to set crazy toy 2 claw crane machine ?
Improvements from the older versions of Claw Machine
- Improvised Power Box
The Power Box is separated from the system’s Functional Port to allow for
systematic wiring.
- Comprehensive indication features
Each switch has a corresponding indication light to facilitate
troubleshooting and repair.
- Powerful processor
High capacity processor enables customizable functions and features.
- Proper functional testing
Ensures easy assembling and troubleshooting.
- Automatic Claw Grip Adjustment and Manual Claw Grip Adjustment
Smoothens management process and minimalizes human interaction
- Remote viewing and controlling via Mobile Application
Enables adjustment of Claw Machine settings remotely.
- Claw Machine Installation Procedure
- It is advisable to complete reading the Instruction Manual before
assembling the Claw Machine.
- Connect the Power Cord to the Controller Port. You may identify the
Controller Port by matching the Power Cord’s profile to the Controller Port.
Subsequently, connect the claw’s function cable and motor cable.
- Connect the Claw Machine to an electrical source, switch on the Claw
Machine and enter into the settings interface and select “Claw Testing”
mode.
- After entering “Claw Testing” mode, check that all cable connections are
correctly done via moving the claw leftwards and rightwards. If otherwise,
please recheck your cable connections.
- Connect your Functional Port. The machine will provide instructions and
error messages to facilitate your connection troubleshooting.
- Enter into Settings mode. Turn on “Warm Up Machine” function. Exit
Settings mode and allow Claw Machine to warm up. The Claw Machine
will startup automatically. You may analyze the data shown to ensure
stability of the Claw Machine.
- Customization of features and functions will be adjusted based on
Customers’ specification and handed over accordingly
Machine Fault and Repair
Upward & Downward Error: First, check if the movement direction is correct.
When it move upwards, Indication Light L1 should light up. When it move
downwards, Indication Light L2 should light up. Secondly, check if the ropes are
being tangled up. Ensure that Indication Light DS1 and Indication Light DS2
lights up as you move up and down.
Leftward & Rightward Error: First, check if the movement direction is correct.
When it move leftwards, Indication Light L6 should light up. When it move
rightwards, Indication Light L7 should light up. Secondly, check if the ropes are
being tangled up. Ensure that Indication Light DS3 light up as you to the left.
Frontward & Backward Error: First, check if the movement direction is correct.
When it move frontward, Indication Light L4 should light up. When it move
backward, Indication Light L5 should light up. Secondly, check if the ropes are
being tangled up. Ensure that Indication Light DS4 light up as you to the front,
and Indication Light DS5 light up as you move to the back.
Coin receiver Error: If you have two coins receiver, ensure that the setting for
both receivers are on. Refer to DS14 and ensure it lights up when you insert the
coins.
Anti-shake Error: Check if the floor surface is flat, or if the machine is slanting.
Refer to DS15.Sensor Light Error: Refer to where the light points to (sensor) and refer to DS16
to adjust sensitivity of sensor.
Related Products

